Repotting a New Bonsai for Beginners: Essential Steps
bonzai.co.nz
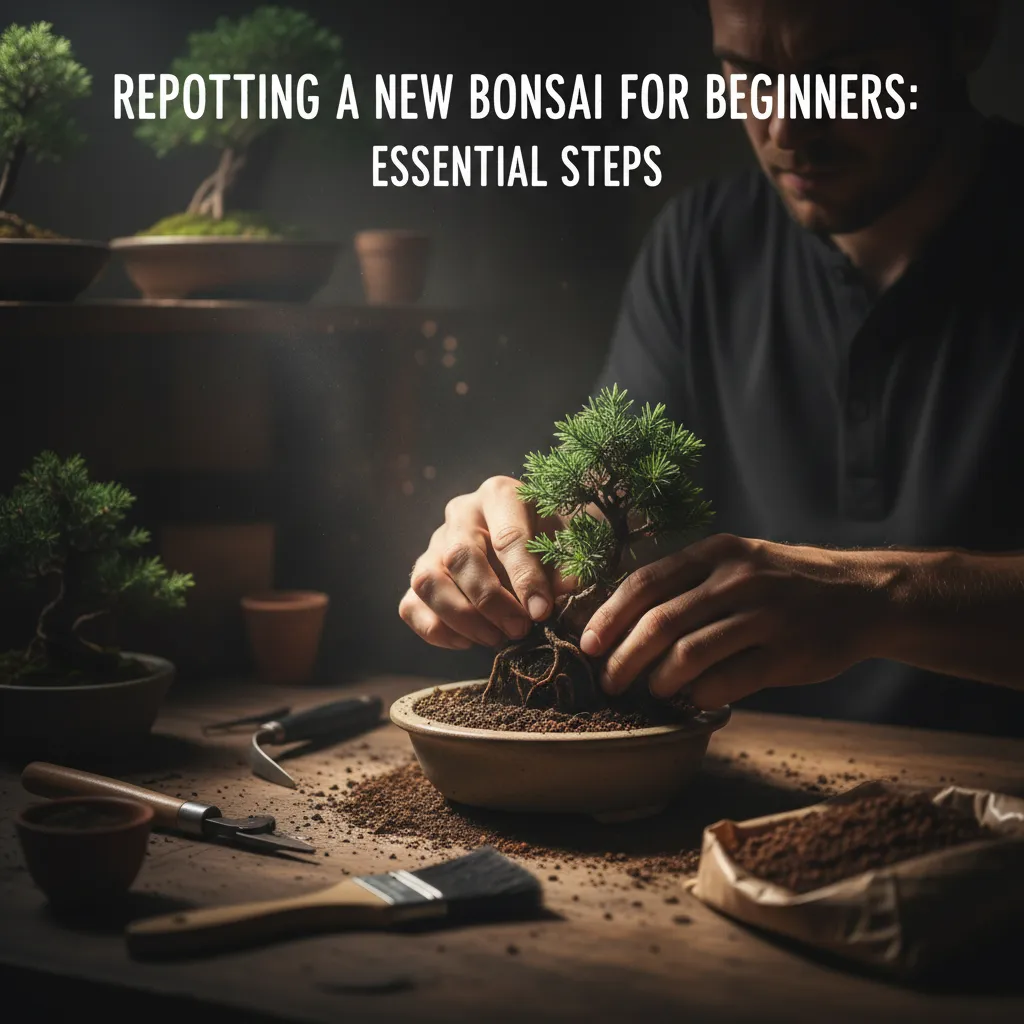
Repotting a beginner bonsai is vital for its health and growth, especially when bringing home a new tree. It involves carefully removing the tree from its old container, gently pruning its roots, and placing it into fresh, appropriate potting mix to encourage new root development and overall vigor.
Bringing a new bonsai home is an exciting experience. These miniature trees are living works of art. For insights into their origins and journey, consider exploring the History of Bonsai in NZ: From Early Imports to Native Excellence. However, a crucial first step for any new bonsai owner is understanding the art of repotting.
Proper repotting ensures your bonsai receives the nutrients and space it needs to thrive. It sets the stage for years of healthy growth and enjoyment. Let’s explore how to give your new bonsai the best possible start.
When to Repot Your Beginner Bonsai
Knowing when to repot your bonsai is key to its success. For a new tree, especially one bought from a nursery, the timing can be crucial. Many new bonsais are sold in temporary soil that isn’t ideal for long-term health. The first repotting for a beginner bonsai is often a necessary adjustment.
Understanding the Need for Repotting
Bonsai trees live in small containers, which means their root systems can quickly become cramped. Over time, the soil also breaks down, losing its ability to hold water and nutrients efficiently. This leads to a stressed tree that can’t absorb what it needs.
Repotting addresses these issues. It gives the roots room to grow and replaces old, spent soil with fresh, nutrient-rich potting mix. This process revitalizes the tree, encouraging new growth both below and above ground.
Signs Your Bonsai Needs Repotting
Look for specific signs that your bonsai is ready for its first repotting. If you see roots circling the inside of the pot or growing out of the drainage holes, it’s a clear indicator. Another sign is if water sits on the soil surface for a long time without draining.
Slow or stunted growth, even with proper watering and light, can also suggest your tree needs more space and fresh soil. If your new bonsai came in a very compact, dense soil, it’s likely a good candidate for an early repotting.
The Best Time for Repotting a Beginner Bonsai
The ideal time for repotting most bonsai species is during their dormancy, typically in late winter or early spring. This is just before the tree begins its active growth cycle, a period that aligns with essential Spring Care for Bonsai SH. Repotting during dormancy minimizes stress on the tree as it’s not actively trying to support a full canopy of leaves.
For evergreen species, late winter is also suitable. Deciduous trees are best repotted when their buds are just starting to swell. Always research your specific bonsai species (such as when Caring for Juniper Bonsai: A Comprehensive Guide), as some may have slightly different ideal repotting windows.
Understanding the Repotting Process
Repotting might seem daunting at first, but with a clear plan and the right tools, it’s a straightforward process. This guide will walk you through each step of repotting your beginner bonsai, ensuring you handle it with care and confidence.
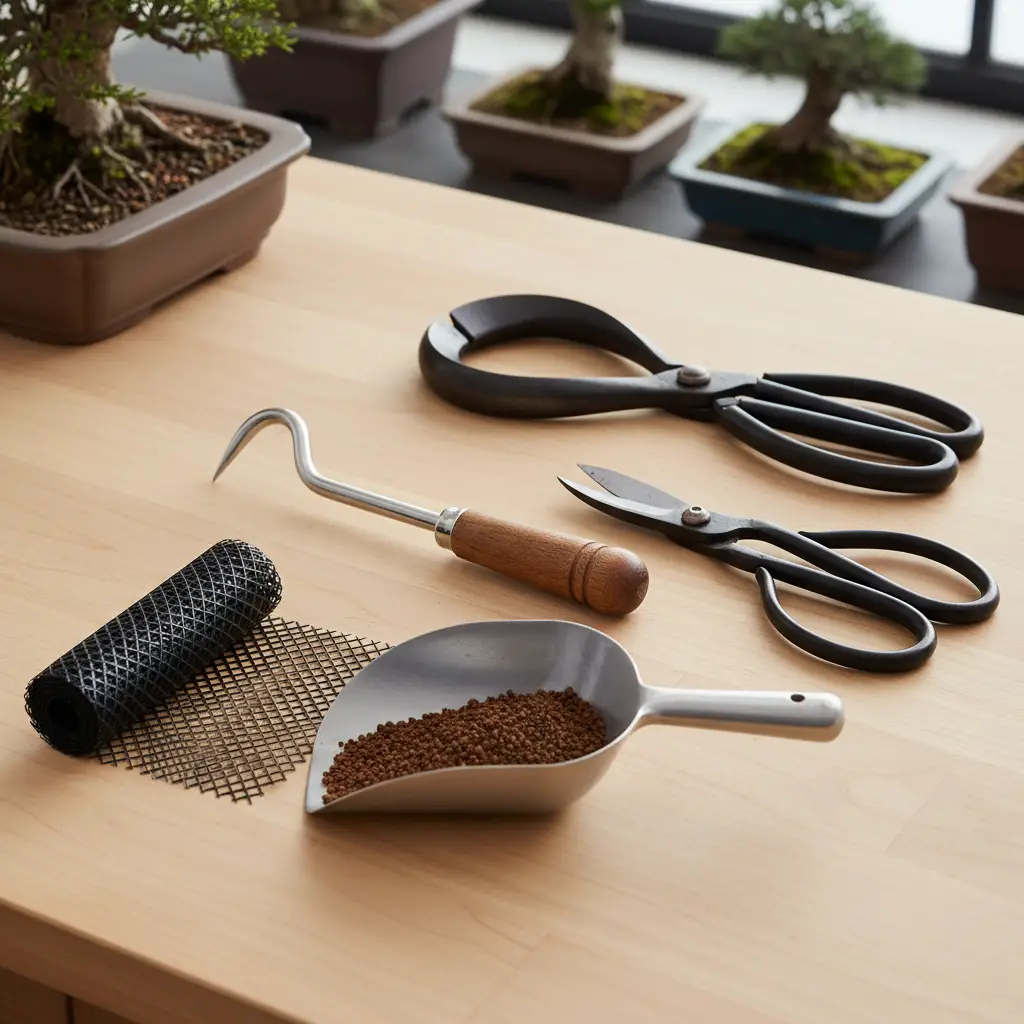
Gathering Your Tools and Materials
Before you begin, gather everything you’ll need. This includes a new or cleaned bonsai pot (often slightly larger or the same size, depending on your goals), a specific bonsai potting mix, a root hook or chopstick, sharp concave cutters or root scissors, drainage mesh, and wire. Having these ready prevents interruptions.
High-quality bonsai soil is essential. It provides excellent drainage and aeration, which are crucial for a healthy root system. A good mix typically includes akadama, pumice, and lava rock. Avoid standard garden soil, as it retains too much moisture and can lead to root rot.
Preparing the New Pot and Soil
Start by preparing your new pot. Cover the drainage holes with mesh to prevent soil from washing out. Secure the mesh using wire if your pot has wire holes. This simple step ensures good drainage and keeps your soil in place. Some containers have small anchor holes for tying the tree in place; prepare these wires now.
Add a thin layer of your chosen bonsai potting mix to the bottom of the pot. This provides a soft bed for the roots and helps you adjust the tree’s final height. Ensure the soil is evenly distributed.
Carefully Removing the Bonsai
Gently remove your bonsai from its old pot. If the tree is root-bound, you might need to run a thin knife or spatula around the inside edge of the pot. Tilt the pot and gently pull the tree by its base, not by the trunk or branches. Support the root ball as you lift it out.
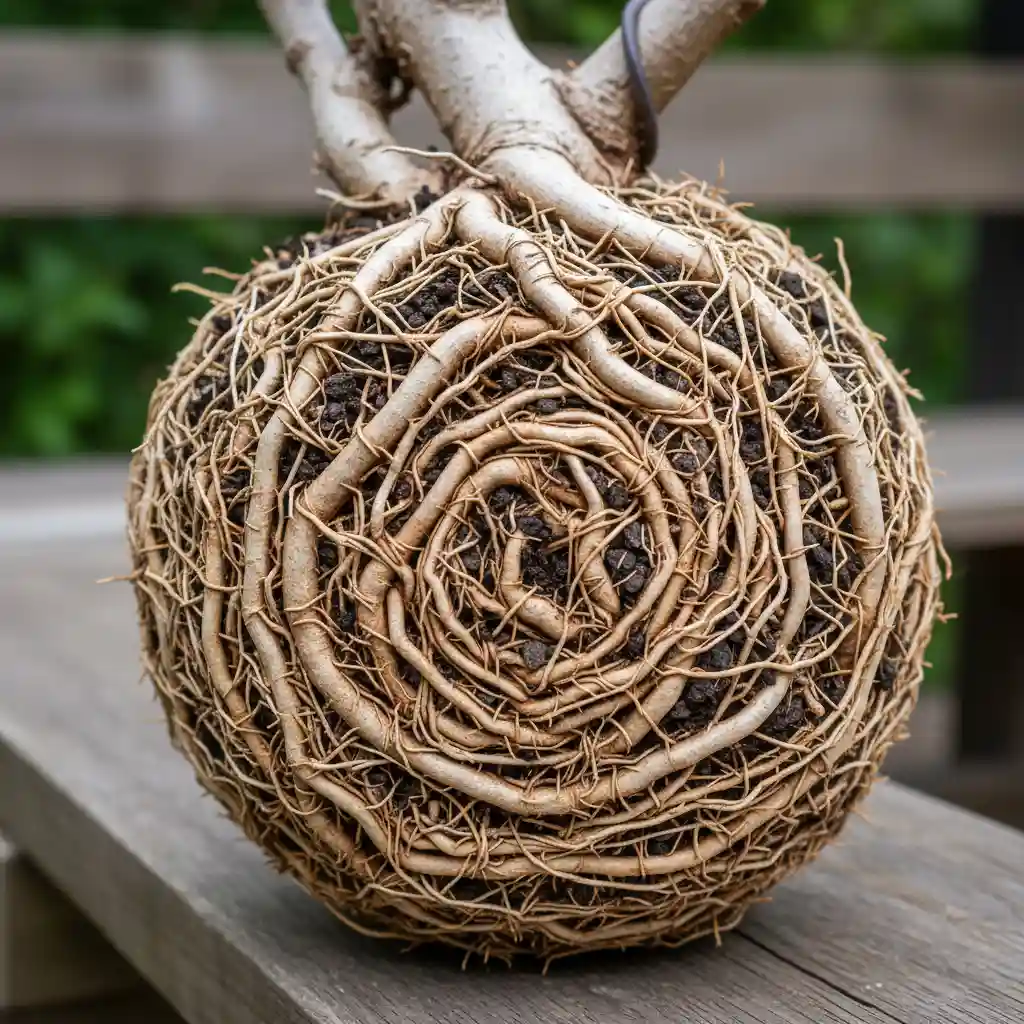
Once out, inspect the root ball. It’s common to see a dense mat of roots, especially for a new bonsai. This is precisely why repotting is so important. Work slowly and patiently during this delicate stage.
Root Pruning: A Critical Step
This is arguably the most important part of repotting. Use a root hook or chopstick to gently tease out the outer and bottom roots. Remove any circling roots, dead roots, or overly thick roots that are not contributing to the fine root structure. The goal is to encourage new, fine feeder roots.
Prune about one-third to one-half of the root mass, depending on the tree’s vigor and species. Aim for a flat, radial spread of roots. Be careful not to remove too many roots at once, as this can shock the tree. A good resource for more detailed root pruning is the Wikipedia page on Bonsai.
Placing the Bonsai in the New Pot
Position your bonsai in the new pot. Adjust the soil layer underneath until the tree sits at the desired height and angle. The soil surface should be slightly below the rim of the pot, allowing space for watering. Once happy with the placement, gently backfill around the roots with fresh bonsai soil.
Use a chopstick or similar tool to work the new soil into all the gaps within the root system. This removes air pockets, which can be detrimental to root health. Tap the pot gently on your workbench to help settle the soil. Ensure the tree feels stable and firmly planted.
Initial Watering After Repotting
Immediately after backfilling, water the bonsai thoroughly. Water until it drains freely from the bottom of the pot. This not only hydrates the roots but also helps settle the new soil firmly around them. Repeat the watering a few times until the drainage water runs clear.
Some growers like to use a rooting hormone solution for the first watering, though it’s not strictly necessary for a healthy tree. The main goal is to ensure the entire root ball is moist and the soil is well-settled.
Post-Repotting Care for Your Bonsai
The period immediately after repotting is crucial for your bonsai’s recovery. Proper aftercare will minimize stress and help your tree establish itself quickly in its new environment. Neglecting post-repotting care can undo all your hard work.
Optimal Placement and Environment
After repotting, place your bonsai in a sheltered location. This means protection from direct strong sunlight, harsh winds, and extreme temperatures. A shaded spot outdoors or a bright, indirect light location indoors is usually ideal. High humidity is also beneficial during this recovery phase.
Avoid moving the tree frequently for the first few weeks. Allow it to acclimate to its new pot and recover from the root disturbance. This focused care will greatly improve its chances of success after repotting a beginner bonsai.

Watering Schedule Post-Repotting
While proper watering is always important, it’s especially critical after repotting. The new soil may dry out at a different rate than the old, and the reduced root mass means the tree’s water uptake is temporarily hindered. Monitor the soil moisture daily.
Water when the top inch or so of the soil feels dry to the touch. Avoid overwatering, which can lead to root rot, but also prevent the soil from drying out completely. Consistency is key during this sensitive period for your beginner bonsai.
When and How to Fertilize
Do not fertilize your bonsai immediately after repotting. The fresh soil provides ample nutrients, and adding fertilizer too soon can burn the tender, recovering roots. Wait at least four to six weeks, or until you see clear signs of new growth, such as swelling buds or new shoots.
When you do start fertilizing, begin with a diluted solution. Gradually increase the strength to the recommended dosage as the tree recovers its vigor. A balanced, slow-release fertilizer is often a good choice for newly repotted trees. For a comprehensive guide on Bonsai Soil, Fertilization & Nutrition, explore our dedicated resource.
Monitoring Your Bonsai’s Health
Continuously observe your bonsai for any signs of stress or disease. Look for wilting leaves, yellowing foliage, or unusual spots. Early detection allows for quicker intervention. Remember, some leaf drop is normal after repotting, but excessive defoliation is a red flag.
Patience is a virtue in bonsai care. It takes time for a tree to fully recover and establish itself after repotting. Consistent, gentle care will ensure your beginner bonsai thrives for many years to come.
Conclusion
Repotting a new bonsai is a fundamental skill that every enthusiast must learn. By understanding when and how to perform this vital task, along with providing diligent post-rep potting care, you set your tree on a path to long-term health and beauty. Don’t let the process intimidate you; embrace it as an essential part of your bonsai journey.
With each successful repotting, you’ll gain confidence and a deeper connection to your living art piece. Your beginner bonsai will thank you with vibrant growth and a robust root system, ready for years of continued development and enjoyment. This includes considering its presentation as part of a complete Companion Plants & Display Elements for a True NZ Bonsai Scene, and mastering the art of Designing Bonsai Compositions and Plantings. To further enrich your journey and connect with fellow enthusiasts, consider Starting Your Own Local Bonsai Study Group.