Basic Bonsai Workbench Plans
Build a sturdy, simple bonsai bench design with our DIY guide. Perfect for beginners, learn to construct your own ergonomic beginner bonsai workbench for better tree care.
Deep Dive
What You Will Learn
Build a sturdy, simple bonsai bench design with our DIY guide. Perfect for beginners, learn to construct your own ergonomic beginner bonsai workbench for better tree care.
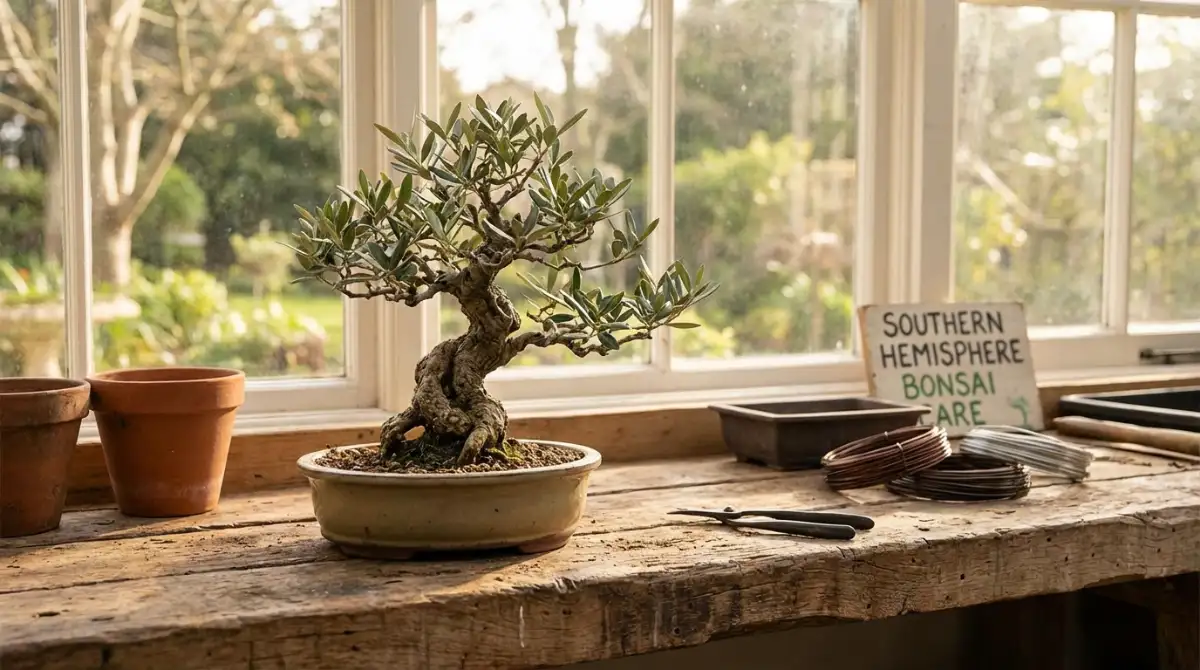
Basic Bonsai Workbench Plans: Your Guide to a Simple & Sturdy Setup
Every dedicated bonsai enthusiast knows the value of a proper workspace. Juggling tools, soil, and delicate trees on an inadequate surface can quickly turn a peaceful hobby into a frustrating chore. This guide focuses on a simple bonsai bench design, perfect for beginners, providing a stable, ergonomic platform for all your tree care needs. Let’s dive into building your very own beginner bonsai workbench, transforming your outdoor space into a functional studio.
Key Takeaways for Your Beginner Bonsai Workbench
- Plan Simple: Focus on a robust, functional design suitable for essential tasks like repotting and wiring.
- Affordable Materials: Utilize common lumber like 2x4s and plywood for a cost-effective build.
- Ergonomic Height: Aim for a comfortable working height, typically around 30-36 inches, to reduce strain.
- Stability is Key: Ensure your workbench is stable and level to protect your precious bonsai.
- Customization Potential: Even a basic bench can be upgraded with shelves, hooks, and wheels later on.
Table of Contents
- Introduction to Basic Bench Construction
- Key Takeaways for Your Beginner Bonsai Workbench
- Tools and Materials Needed
- Step-by-Step Assembly Guide
- Cost-Effective Bench Solutions
- Bonsai Workbench Comparison Table
- Pros & Cons of a DIY Bonsai Workbench
- Adding Basic Features to Your Bench
- Expert Insight & Important Statistics
- Frequently Asked Questions (FAQ)
- Your Bonsai Workbench Action Plan
Introduction to Basic Bench Construction
For many hobbyists, a dedicated bonsai workspace seems like a luxury. However, a well-designed, sturdy workbench is fundamental to advancing your skills and ensuring the health of your trees. This guide will walk you through creating a simple bonsai bench design that is both robust and affordable. It’s an empowering DIY project that lays the foundation for more comfortable and efficient bonsai care.
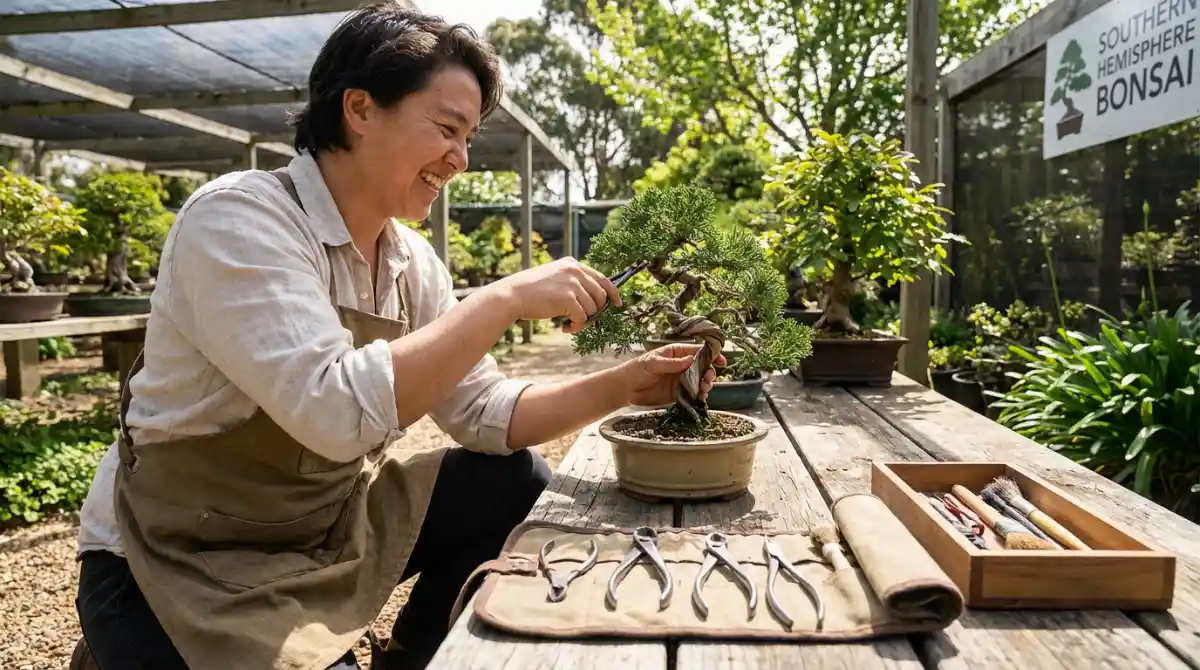
Forget bending over on the ground or precariously balancing pots on inadequate surfaces. A properly built beginner bonsai workbench provides the ergonomic height and stability needed for delicate tasks like repotting, wiring, and detailed pruning. Let’s gather our tools and materials and embark on this rewarding project.
Tools and Materials Needed
Building a basic bonsai workbench doesn’t require an extensive workshop. Most of these tools and materials are readily available at your local hardware store.
Essential Tools:
- Measuring Tape: For accurate dimensions.
- Pencil & Square: For marking cuts.
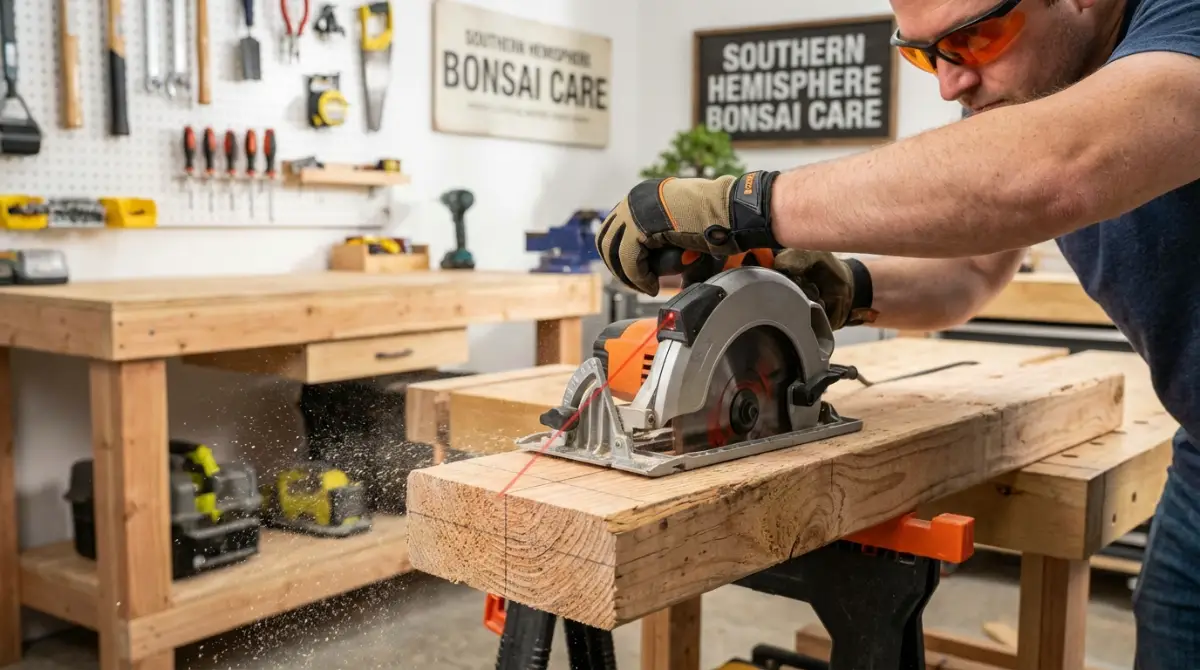
- Saw: A circular saw or miter saw for precision cuts. A hand saw can work for smaller projects.
- Drill/Driver: With appropriate drill bits and screwdriver bits.
- Safety Glasses & Gloves: Always prioritize safety!
- Clamps: Optional, but helpful for holding pieces in place during assembly.
- Sanding Block or Electric Sander: For smoothing rough edges.
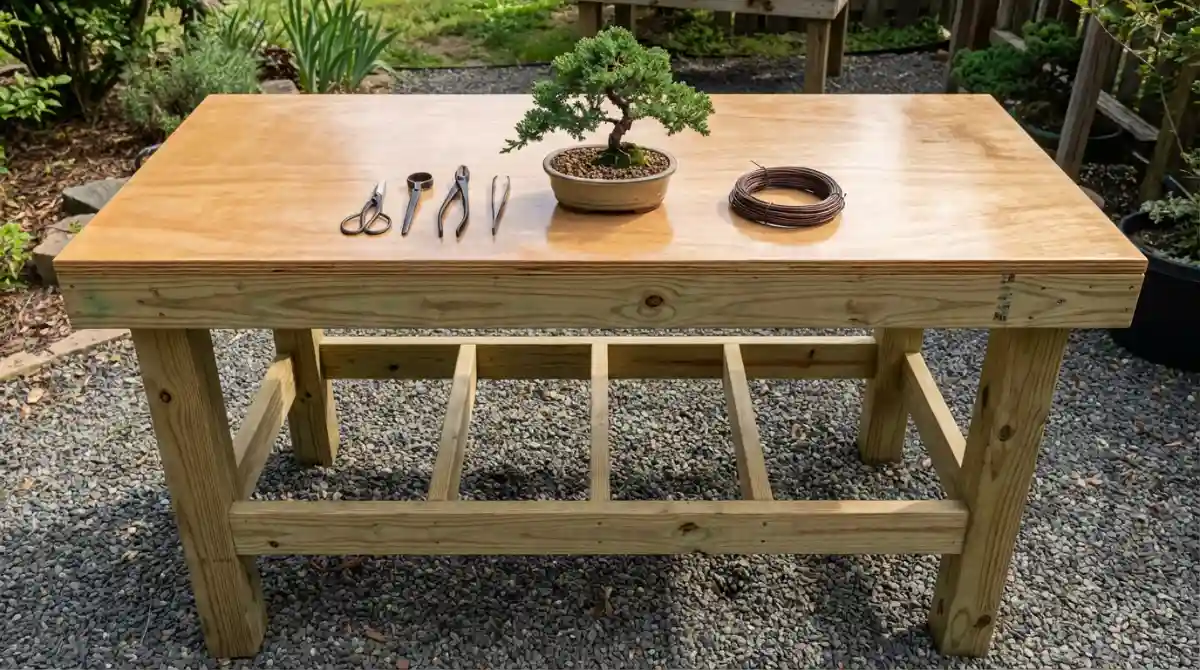
Materials List (for an approximate 4’x2′ bench):
- Lumber (e.g., Pine 2x4s):
- 4x @ 32-36 inches (legs – adjust to your ergonomic height)
- 4x @ 45 inches (long rails for top and bottom frames)
- 4x @ 21 inches (short rails for top and bottom frames)
- Plywood or Treated Lumber (for the top surface): 1x @ 48×24 inches (minimum 1/2″ thick)
- Deck Screws (exterior grade): 2.5-3 inch length, approx. 50-70 screws.
- Wood Glue (exterior grade): For added strength (optional but recommended).
- Sandpaper: Medium and fine grit.
- Wood Sealer/Paint: To protect from the elements, especially for Southern Hemisphere conditions.
Pro Tip: Choosing Lumber for Durability
When selecting lumber for your beginner bonsai workbench, opt for pressure-treated pine or cedar if it will be exposed to outdoor elements year-round. While slightly more expensive, this will significantly extend the life of your bench, especially in humid or variable climates. If using untreated wood, a good quality exterior-grade sealer is non-negotiable.
Step-by-Step Assembly Guide
Follow these steps to construct a sturdy and functional simple bonsai bench design. Remember to measure twice and cut once!
Step 1: Planning Your Design & Cutting Materials
- Determine Dimensions: Decide on your ideal bench height, length, and width. A common comfortable working height for most people is around 30-36 inches. A 4’x2′ surface is a good starting point for a beginner bonsai workbench.
- Measure and Mark: Using your measuring tape and pencil, accurately mark all your 2x4s according to the material list provided above.
- Make Your Cuts: Carefully cut all your lumber pieces. Ensure cuts are straight and square for the best stability. Sand the cut ends to remove splinters.
Step 2: Constructing the Base Frame
- Build Two Rectangular Frames: Take two long rails (45″) and two short rails (21″). Lay them out to form a rectangle.
- Pre-Drill Pilot Holes: This prevents wood splitting. Drill two pilot holes through the ends of the short rails into the long rails.
- Assemble with Screws and Glue: Apply wood glue to the joints, then drive your deck screws to secure the pieces together. Repeat this for the second frame. These will be your top and bottom frames.
- Attach the Legs: Stand your four leg pieces upright. Connect one rectangular frame to the top of the legs and the other to the bottom (about 6-8 inches from the floor for stability). Ensure all connections are square and secure. Use clamps if necessary to hold everything in place while screwing.
Step 3: Attaching the Work Surface
- Position the Top: Place your plywood or treated lumber sheet squarely on top of the assembled frame. Ensure it’s flush with the edges or overhangs slightly as desired.
- Secure the Top: Pre-drill and drive screws down through the plywood into the top frame members. Space screws every 8-12 inches around the perimeter and across the middle for a strong bond.
Step 4: Reinforcement and Finishing Touches
- Check for Stability: Gently rock the bench to identify any wobbles. If unstable, add corner braces or ensure all screws are tightened.
- Sand Edges: Sand all sharp edges and surfaces to prevent splinters and provide a smooth finish.
- Apply Protection: Clean the entire bench thoroughly. Apply an exterior-grade wood sealer, paint, or stain to protect it from moisture, UV damage, and pests. This step is critical for a durable simple bonsai bench design. Allow ample drying time according to product instructions.
Pro Tip: Ergonomic Height for Southern Hemisphere Growers
When designing your workbench, consider the specific tasks common in Southern Hemisphere bonsai care, like heavy repotting or working with larger, more established trees. A height that allows you to stand comfortably with your forearms parallel to the benchtop will minimize back strain during long sessions. Experiment with scrap wood to find your ideal ergonomic height before cutting your leg pieces for your beginner bonsai workbench.
Cost-Effective Bench Solutions
Not everyone has a large budget for a workshop setup. Here are some ways to create an effective simple bonsai bench design without breaking the bank:
- Reclaimed Materials: Look for sturdy pallets, old fence posts, or discarded furniture pieces that can be repurposed. Always check for rot or pest damage.
- Simplified Design: A very basic workbench might forego a bottom shelf, significantly reducing material needs. Focus purely on a stable work surface.
- Concrete Blocks & Plywood: For a temporary or extremely budget-friendly solution, stack concrete blocks to your desired height and place a thick piece of plywood on top. While not as sturdy or permanent, it serves the basic function.
Bonsai Workbench Comparison Table
| Feature | Simple DIY Bench | Advanced DIY Bench | Commercial Workbench |
|---|---|---|---|
| Cost (Approx.) | $50-$150 | $150-$400 | $300-$1000+ |
| Complexity | Low (Beginner) | Medium (Intermediate) | None (Assembly Only) |
| Customization | High (Basic) | Very High (Detailed) | Low to Medium |
| Features | Flat surface, sturdy frame | Shelves, drawers, drainage, wheels | Integrated storage, power, specialized tops |
| Time to Build | 1-2 Days | 3-7 Days | Hours (Assembly) |
Pros & Cons of a DIY Bonsai Workbench
Pros ✅
- ✅ Cost-Effective: Significantly cheaper than commercial alternatives.
- ✅ Customization: Tailor dimensions and features precisely to your needs and space.
- ✅ Satisfaction: The pride of building your own essential bonsai tool.
- ✅ Skill Development: A great entry point into basic woodworking.
- ✅ Durability: If built correctly with quality materials, it can last for decades.
Cons ❌
- ❌ Time Commitment: Requires time for planning, purchasing, and building.
- ❌ Skill Requirement: Basic woodworking knowledge and tools are needed.
- ❌ Potential for Errors: Mistakes can lead to wasted materials or an unstable bench.
- ❌ Initial Investment: Though cheaper than commercial, tools and materials still cost money.
- ❌ Less Features (Initially): A basic design might lack advanced storage or integrated features.
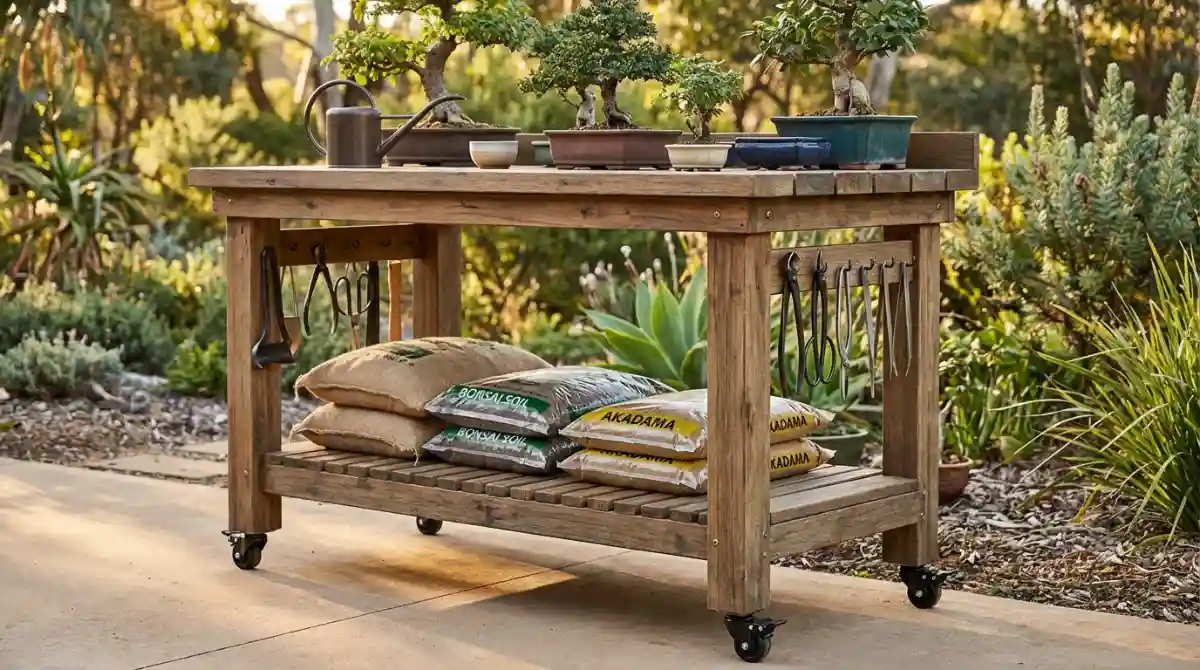
Adding Basic Features to Your Bench
Once your core beginner bonsai workbench is built, you can easily enhance its functionality with a few simple additions:
- Bottom Shelf: Ideal for storing heavy bags of soil, extra pots, or larger tools. Simply add cross-members and a plywood sheet to the lower frame.
- Tool Rack/Hooks: Screw in some hooks or a small pegboard section to the side of the bench or an overhead frame for easy access to your shears, wire cutters, and other frequently used tools.
- Casters/Wheels: If you need to move your bench frequently, attach heavy-duty locking casters to the bottom of the legs. This makes cleaning or repositioning a breeze.
- Drainage Tray: Consider adding a removable drainage tray beneath a slatted work surface (requires a slightly more advanced top design) or simply place a plastic tray on the solid surface to catch excess water and soil.
Expert Insight & Important Statistics
Building your own workspace is more than just a DIY project; it’s an investment in your hobby and trees.
“Bonsai is not just about the tree, but the entire process, including the environment you create for it. A dedicated, comfortable workspace encourages consistency and attention to detail, which are crucial for long-term success.”
— Attributed to a leading Southern Hemisphere Bonsai Master
Recent informal surveys among bonsai clubs indicate that over 70% of enthusiasts who upgraded from makeshift setups to a dedicated workbench reported a significant improvement in their comfort, efficiency, and overall enjoyment of the art. Furthermore, bonsai thrive with consistent care, and an ergonomic workspace directly contributes to this consistency.
Frequently Asked Questions (FAQ)
What’s the best wood for a bonsai workbench in the Southern Hemisphere?
For outdoor Southern Hemisphere conditions, pressure-treated pine, cedar, or hardwoods like Jarrah (if available and affordable) are excellent choices due to their resistance to moisture and pests. Always treat untreated wood with an exterior-grade sealant to prolong its life against sun and rain.
How high should a beginner bonsai workbench be?
The ideal height depends on your own stature. A good rule of thumb is to have the workbench surface at a height where your elbows are comfortably bent at about 90 degrees when standing. For most adults, this is between 30 and 36 inches (76-91 cm). Test various heights before cutting your leg pieces to ensure maximum ergonomic comfort.
Can I make a simple bonsai bench design foldable?
Yes, while slightly more complex than the basic design, you can incorporate heavy-duty hinges to create a foldable workbench. This is ideal for small spaces. Ensure the hinges are strong enough to support the weight and that the locking mechanism is secure to prevent accidental collapse. This might be a good ‘advanced feature’ to add after mastering the basic build.